Have you ever been mystified by the transformative power of eyeshadow? It’s more than just color on your lids—it’s an expression of your personality, your mood, and your style. Whether you lean towards minimalistic neutral hues or love experimenting with bold and vibrant shades, eyeshadow has a place in everyone’s makeup routine.
The Essentials
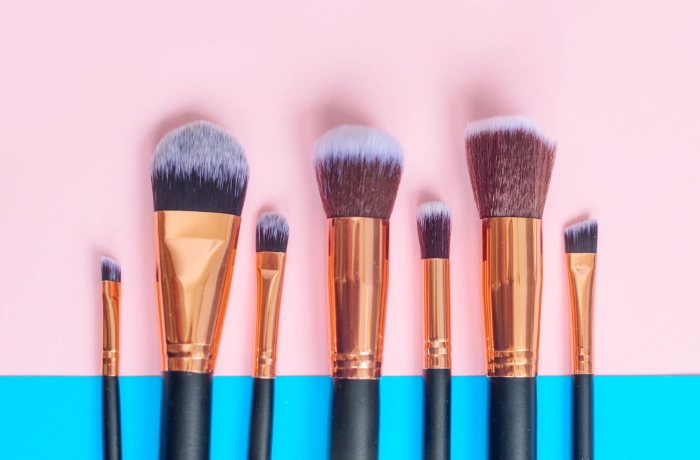
Brush types and their uses
- Flat Shader Brush: Ideal for packing eyeshadow onto the lid.
- Blending Brush: Fluffier and perfect for diffusing shades into the crease and ensuring smooth transitions.
- Pencil Brush: Great for detailed work, like adding color to the lower lash line or outer V.
- Smudge Brush: Short, dense bristles designed to smudge out eyeliner or eyeshadow.
The role of primers and their alternatives
A good eyeshadow primer ensures your eyeshadow stays put without creasing or fading. If you’re out of primer, a dab of concealer or foundation can be a decent stand-in.
Understanding Eyeshadow Textures
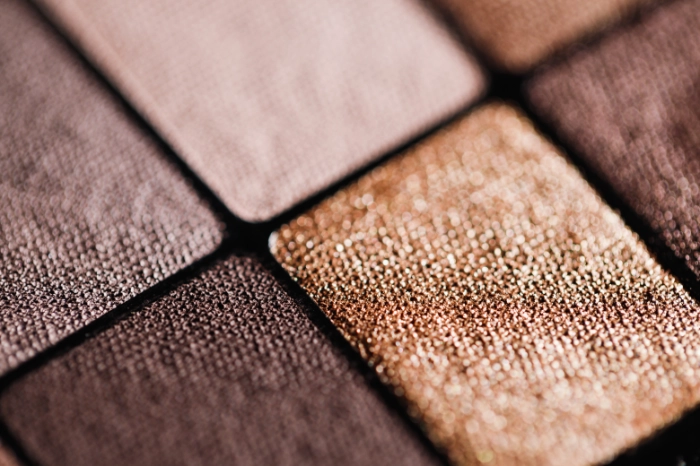
- Powder Shadows: Most common type. They can be matte, satin, or shimmery. Best applied with brushes.
- Cream Shadows: Offer more intense pigmentation and can act as a base for powder shadows.
- Gel Shadows: Long-wearing and often used for glittery looks or as eyeliners.
The Step-by-Step Guide
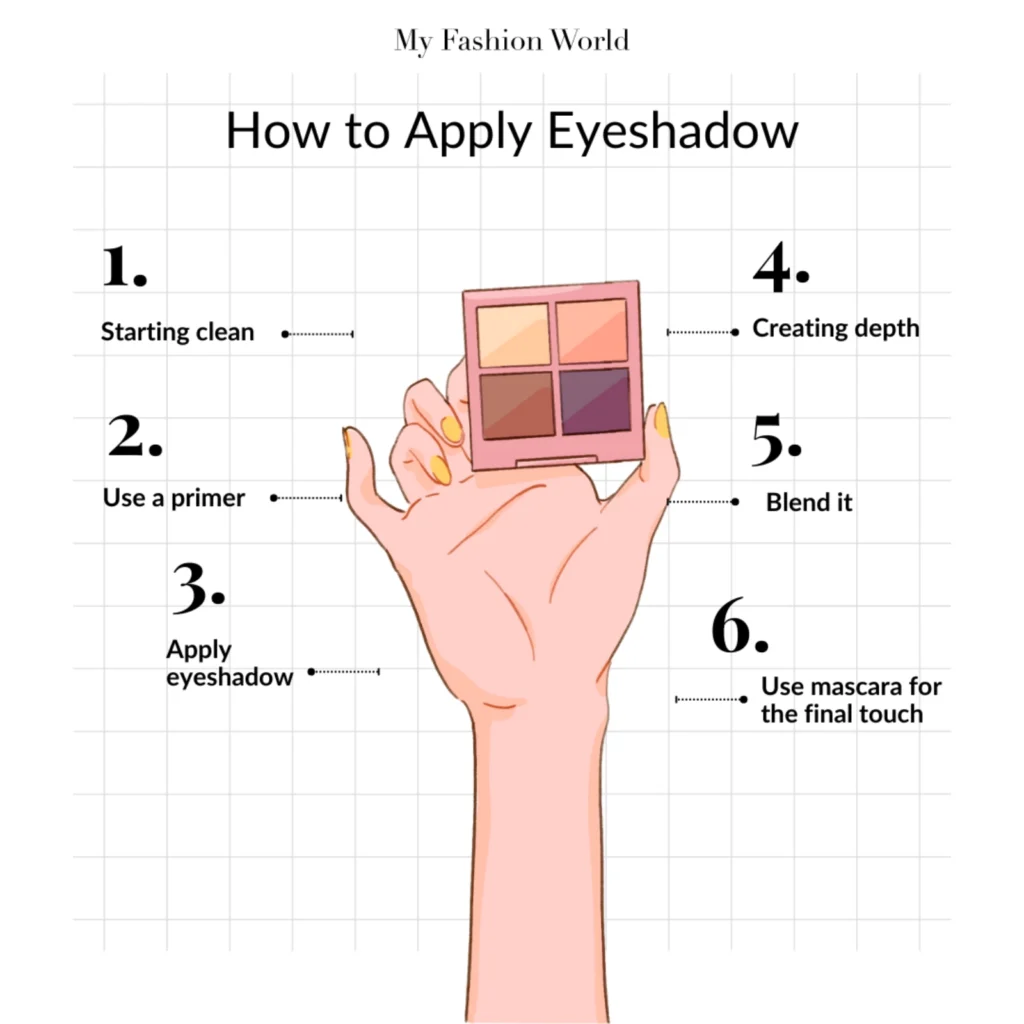
Starting Clean
Clean skin ensures better application. Always cleanse and moisturize your face. Similarly, brushes should be kept clean to prevent color muddying and bacterial buildup.
Priming for Perfection
Apply a thin layer of primer over your lids. This will make your eyeshadow pop, last longer, and prevent creasing.
Mapping Your Eye
- Base: The main part of your eyelid.
- Crease: The fold between your brow bone and base.
- Outer V: The outermost corner where the lid and crease meet.
- Brow Bone: Just below your eyebrow.
Creating Depth
Use a light shade on the base, a medium shade in the crease, and the darkest shade on the outer V. This creates a 3D effect, making eyes look bigger and more defined.
Blending
Using a blending brush, work in windshield-wiper motions to merge shades together seamlessly.
Defining with Eyeliner
For a sharp look, opt for a gel or liquid liner. For something smudgier, use a pencil or dark eyeshadow.
Final Touches
A coat of mascara (or few) and if you’re feeling fancy, pop on some faux lashes.
Basics of Color Combinations
- Analogous: Colors next to each other on the color wheel. E.g., blue, blue-green, green.
- Complementary: Colors opposite each other. E.g., blue and orange.
Which Colors Enhance Different Eye Colors
- Blue Eyes: Gold, bronze, and warm browns.
- Green Eyes: Purples, mauves, and rose hues.
- Brown Eyes: Blues, greens, and grays.
Safe Bets vs. Experimental Shades
Neutrals are always safe. But don’t shy away from bright blues, greens, or even yellows. It’s all about how you blend and wear them!
Common Mistakes & How to Avoid Them
- Over-applying product: Less is more. Start small and build.
- Not blending enough: Spend time blending for a professional finish.
- Wrong color choices: Remember color theory and consider your skin tone and eye color.
Quick Hacks for Those Busy Days
- Monochromatic Looks: One eyeshadow color for the entire eye.
- Everyday Products in Unconventional Ways: Use bronzer in the crease or highlighter on the lid.
- Quick Fixes: Mistakes happen. Keep Q-tips and makeup remover handy.
Makeup is an art, and you’re the artist. Embrace the process of trial, error, and discovery. Whether it’s a casual day look or a glitzy evening glam, the power of eyeshadow can’t be underestimated. So, get out there, experiment, and find the colors and techniques that make you feel like the best version of yourself. Happy blending!

